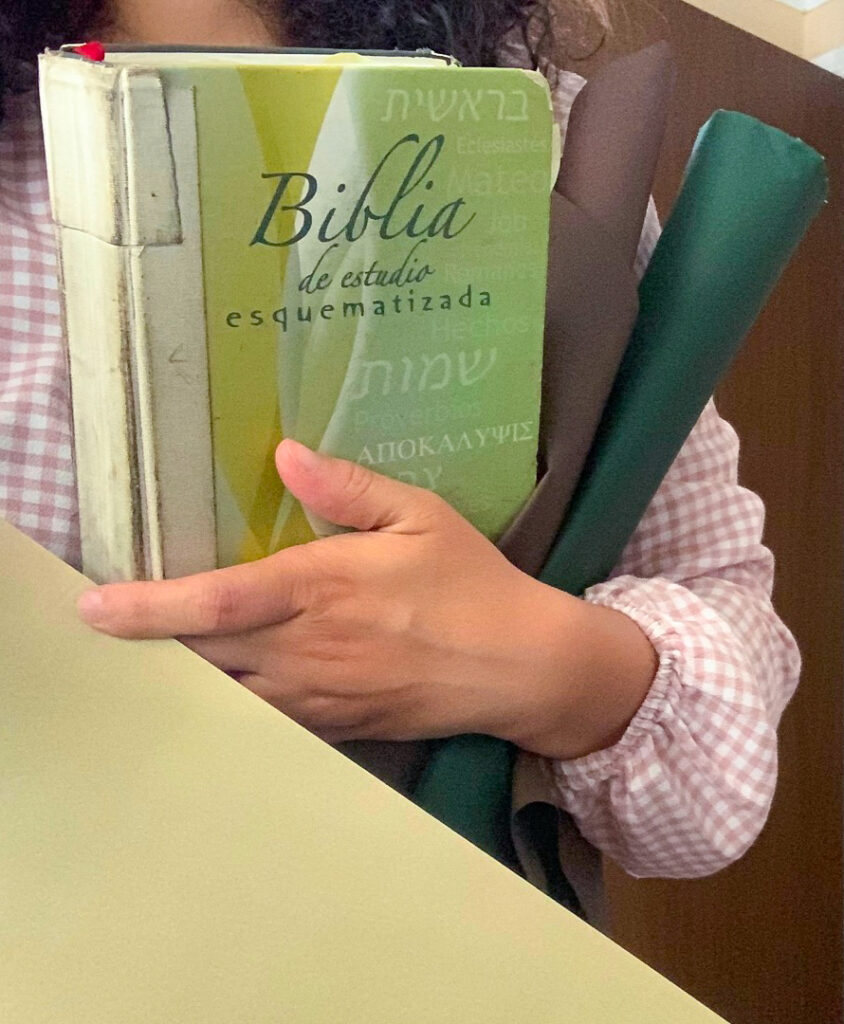
This guide will take you through a quick step by step repairing guide that outlines the main steps to take as you repair an old Bible. This guide is specific to hardcover Bibles or books. Beginners in bookbinding are you ready?
Fixing a Bible When It’s Falling Apart

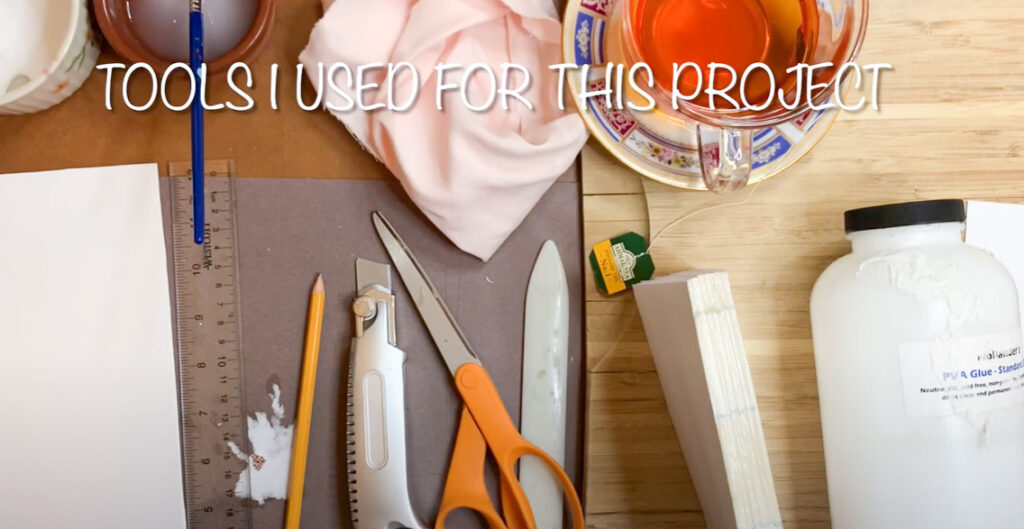
Let’s talk about the Tools you need to Fix the Bible
Let me asure you that this is for beginners so you can use the following tools and repair your Bible.
- Scissors
- Elmer’s glue
- Ruler
- Wrapping paper or any cloth
- Cup of water
- Paint brush
- Pencil
- Rag
- Extra paper
- Cardboard, chip board or matt board (cereal box cardboard if you must)
If You Only Have Basic Tools: Watch this Video
This was the first time I ever repaired a hardcover Bible! I actually got it on camera. It’s crazy because I didn’t know if it was possible to do it with simple everyday tools. And it is!
This post contains affiliate links, which means I make a small commission at no extra cost to you. See my full disclosure here.
If you want someone to fix your Bible for you, Check out my Etsy HERE
Other Tools that are Helpful When Bookbinding
These aren’t necessary for beginners trying it for the first time, but if you are serious about learning to bookbind, then I do recommend you get them as they will make thing easier.
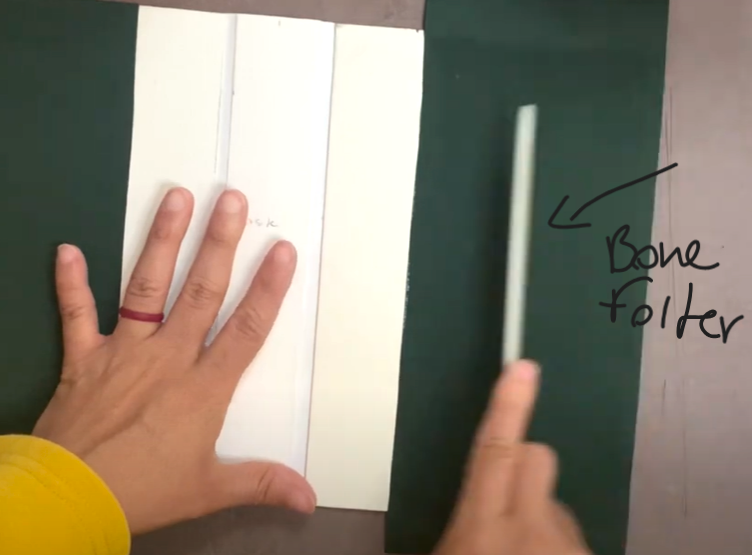
- Bone folder
- Sharp tool/blade
- End-bands
- PVA Glue
- Tea! (ha-ha) stay hydrated
Vocabulary to Know before Starting
- Text-block: a group of signature pages bound together (book, bible, sketchbook) without the case
- Bonefolder: folding tool
- Case: the covering of the book
- End paper: paper that goes inside the book to attach the text-block and for aesthetic
Part 1: How to Repair a Bible (4 steps)
Video for this Section Is Right Here
Please use the video for each part to help you with every detail. Repairing a Bible can be difficult but it’s fun and the result is amazing. Each section has a video (Part 1, Part 2, and Part 3).
This guide will be divided into 3 part and each part will be divided into multiple steps in the rebinding process. Please note that this a case-binding guide for hardcover Bibles. I did cover this bible with a specific design, but you can always cover it with one single piece of paper or cloth look at this video for reference. It’s better to start with a single covering material, than two like I did.
Also, to see exactly how to choose which paper, please check out this blog here
Time to Choose the Materials to Work with
When beginning any book project, a Bible in this case, you need to look at what materials you got or if you need to purchase any.
Choosing the (Book Cloth or Paper) Exterior Covering
You can re-cover a Bible with paper, cloth, and leather but the pricing is definitely the biggest reason new bookbinders tend to go with the first two options.
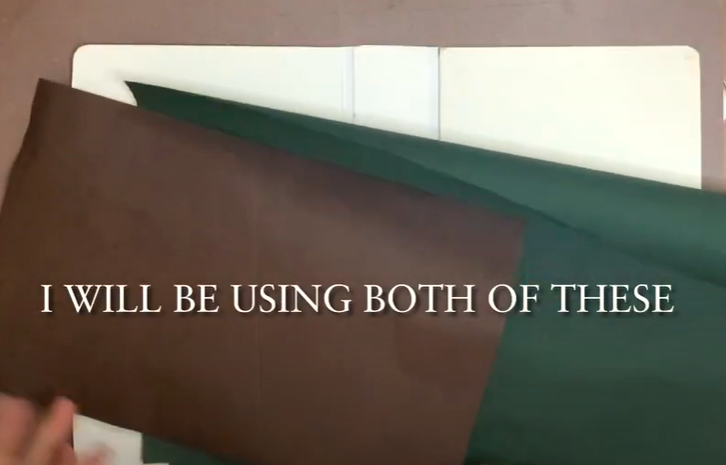
In this Guide I will be using book cloth and imitation leather (which is paper) made to look and feel like leather.
I won’t go into detail about the paper and cloth options because I have a separate post that explains in detail here:
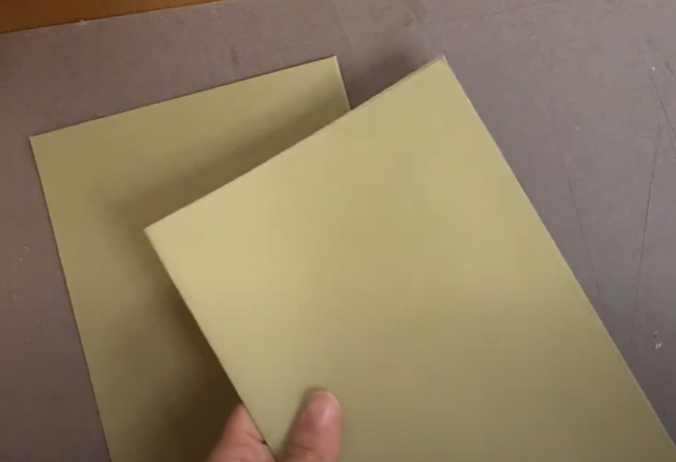
Choosing the color pallete for the Bible!
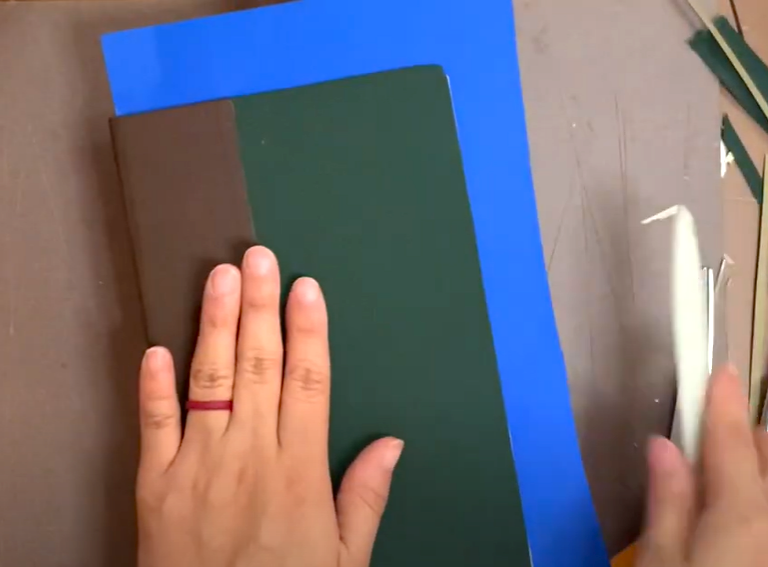
Here is the selection of paper and cloth I chose for this particular Bible.
Color Choices:
Brown- Imitation Leather
Dark Green- Book Cloth
Light Green- End Paper
Choosing the End Paper for your Bible Repair!
The inside of the bible is just as important! You want to add your own spin on your new and improved Bible.
You can go crazy here and pick a beautiful, patterned paper, bright yellow book markers or even pockets that junk journals usually have.
Your imagination is the limit!
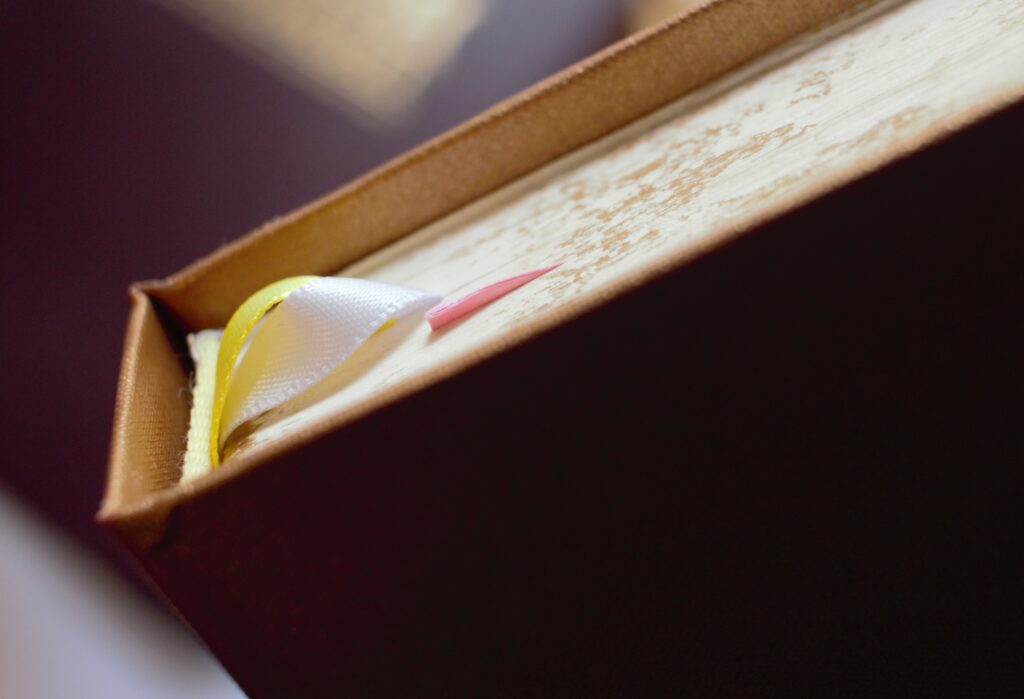
In this part you need to choose the end paper, ribbons and end bands.
Watch the video below to see how I choose the end paper
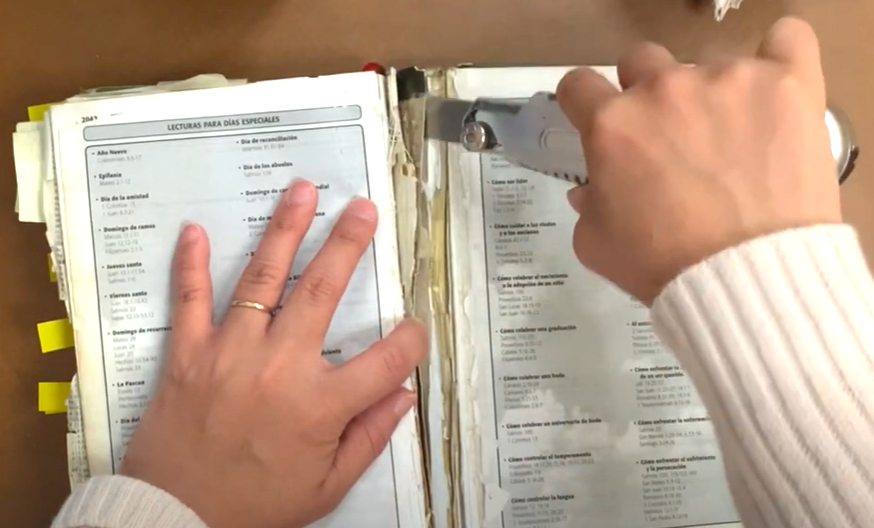
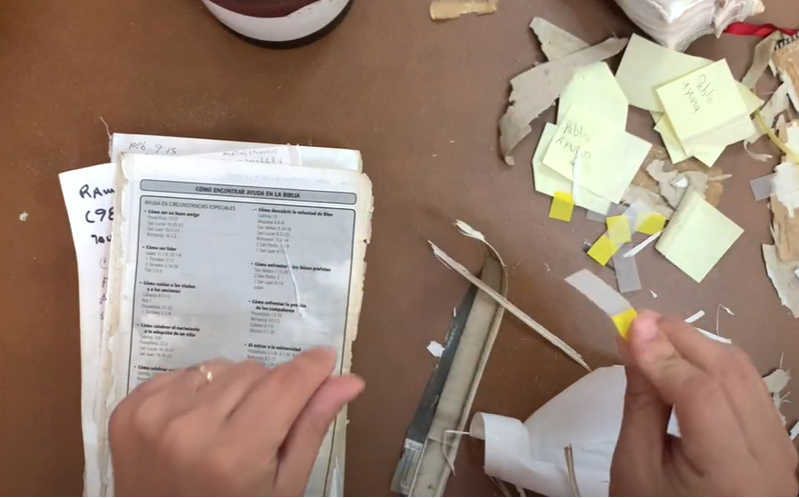
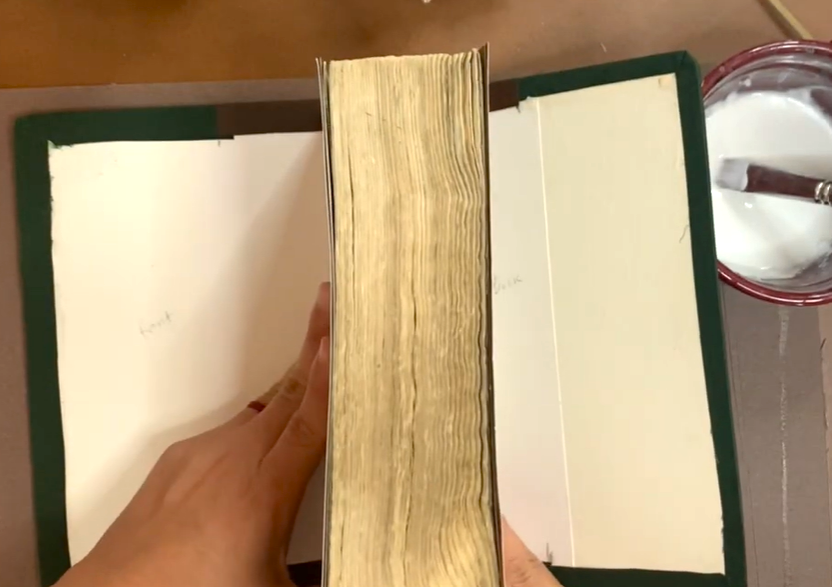
Taking the Bible Apart
Examine the Bible and decide what needs to go and what is still in good condition. Pull the Spine off slowly if it’s ripping off and use a sharp tool to help you pull it off the Bible (text block).
- If you can save the chipboard and re-use it, do that.
- If any pages fell off, you can glue them back in now or at the end of the process check out how to do it in part 3 video.
- If the end bands are falling off, pull them off or just re-use them by re-glue them.
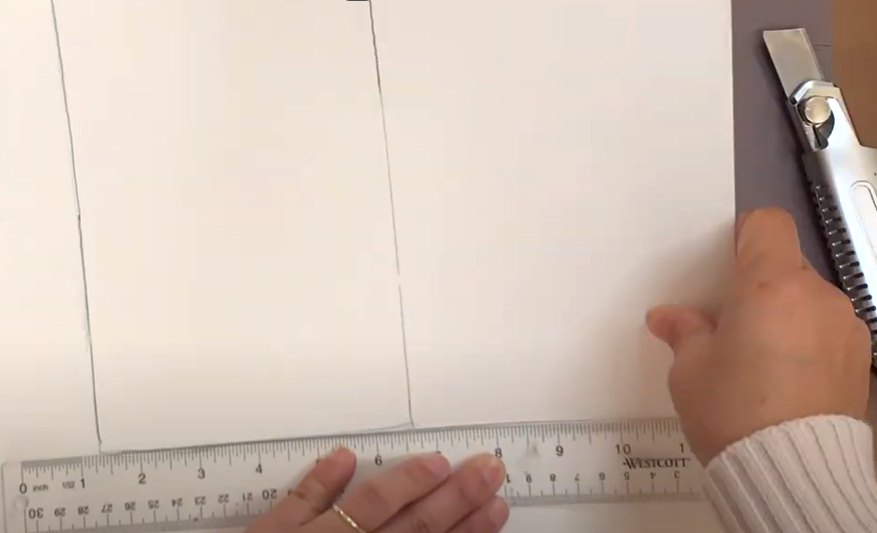
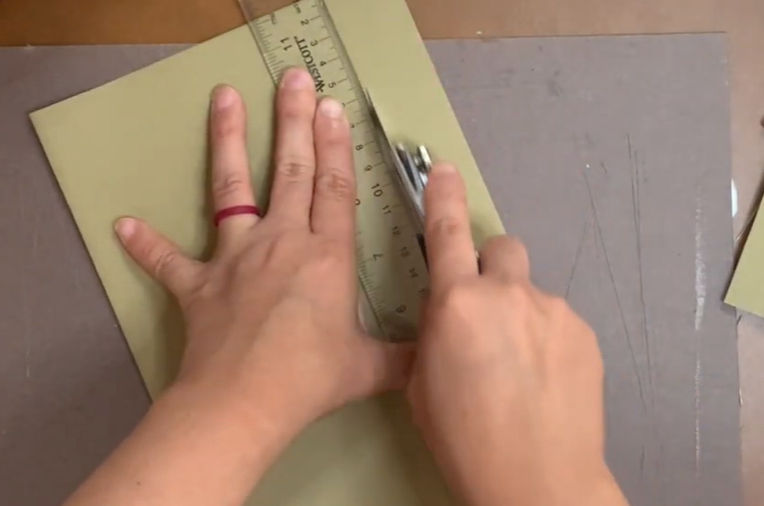
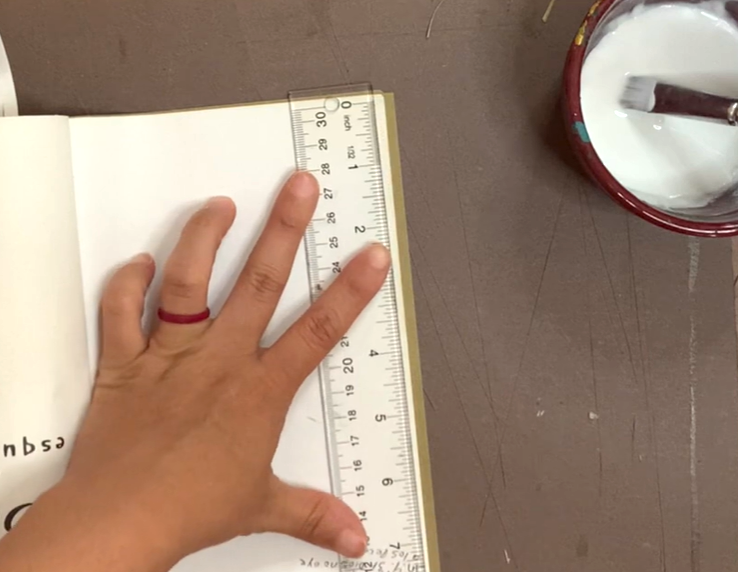
Time to Measure and Cut
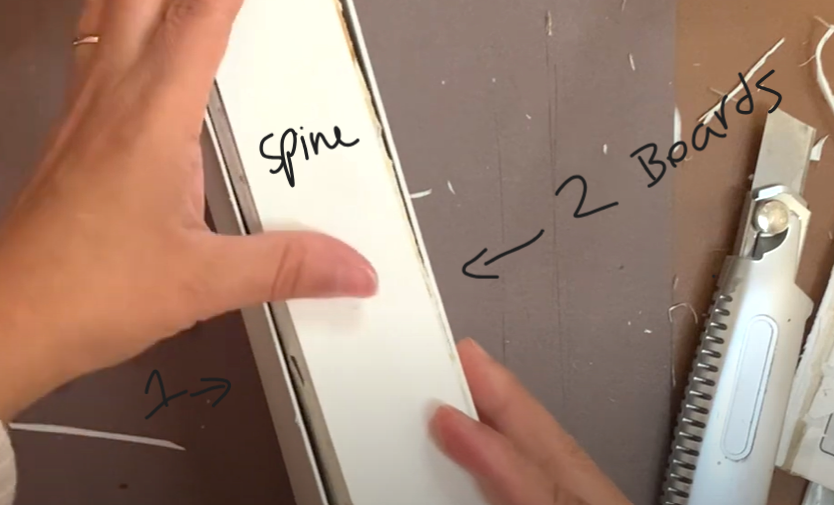
In this part you will measure the boards and the spine of the Bible, re use the old board and spine as guides.
- Measure two identical boards (cardboard, matt board, chipboard) one for the front and one for the back of the Bible cover.
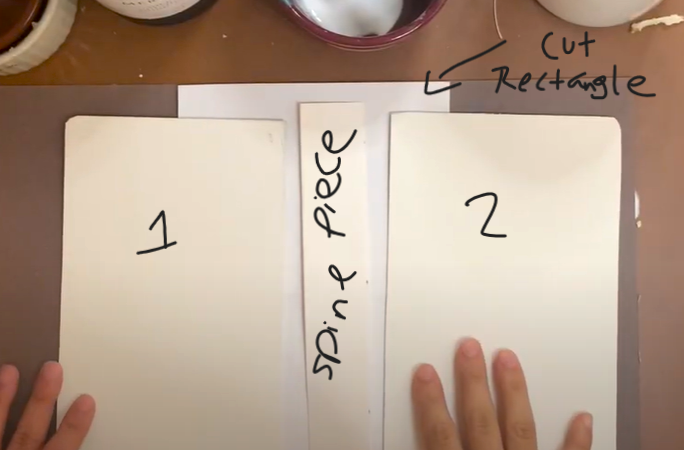
- Cut the spine piece from thick paper like cardstock, watercolor or chip board if you want a hard spine (use a ruler to measure the spine to get the measurements needed)
This is called the case of the Bible, composed of two identical boards and a spine piece. The spine is made with thick paper or board. Remember to watch the video for your reference.
Part 2: How to Fix a Bible (4 steps)
Video for this Section is Here:
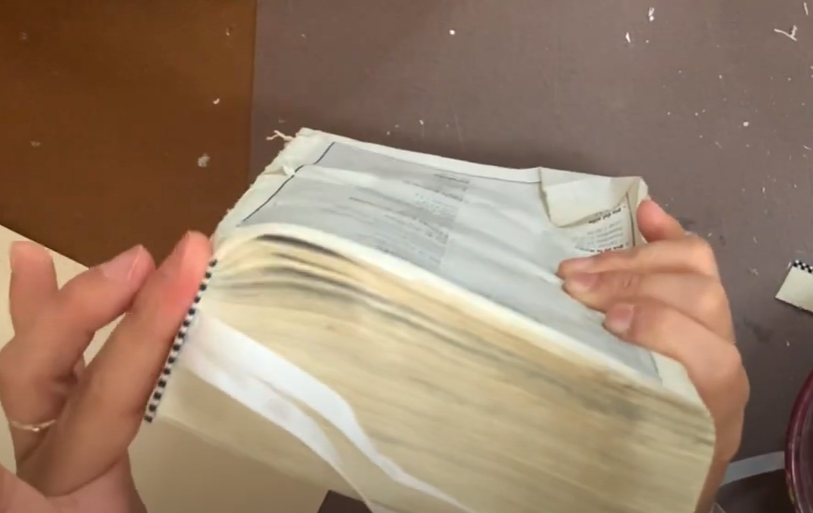
Preparing the Text-block (Bible)
At this point it’s important to clean the spine well in order to put some new protection with paper.
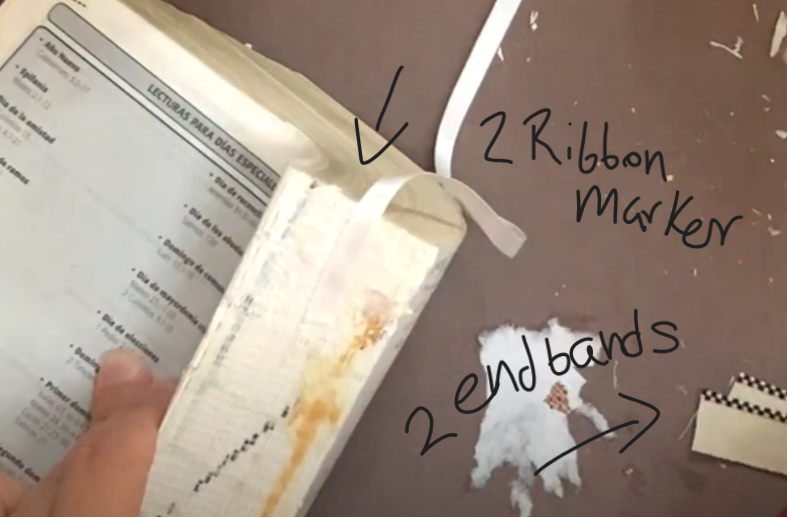
Steps to complete in this step:
- Clean off any remaining paper pieces from the spine
- Remove old end bands (if applicable)
- Glue the ribbon markers (under the end bands) make sure the Bible is right side up
- Glue new end bands
- Let it dry 30min

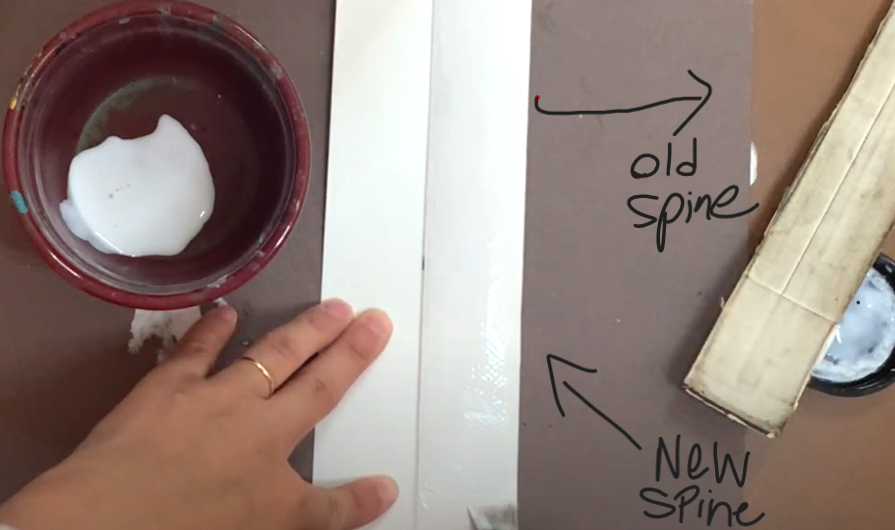
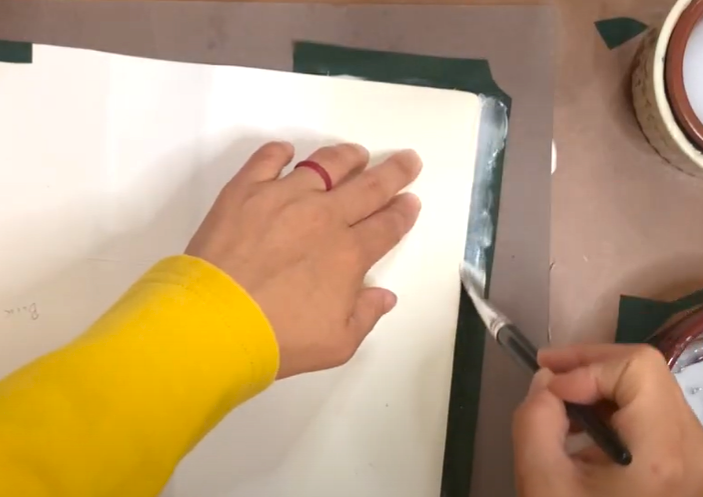
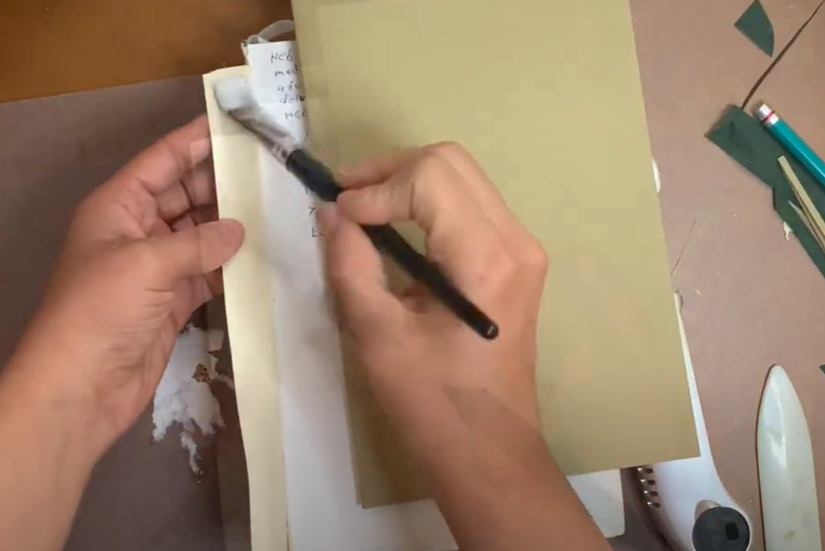
Covering the Spine (Inside part)
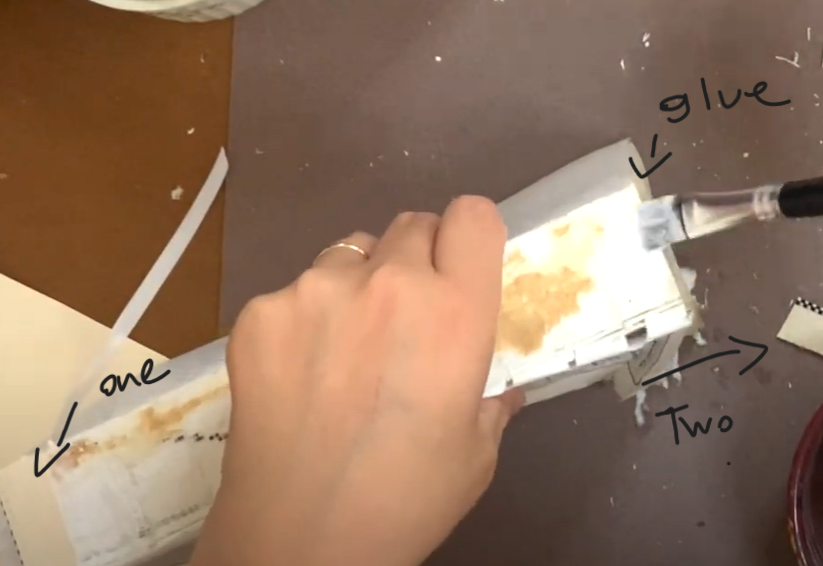
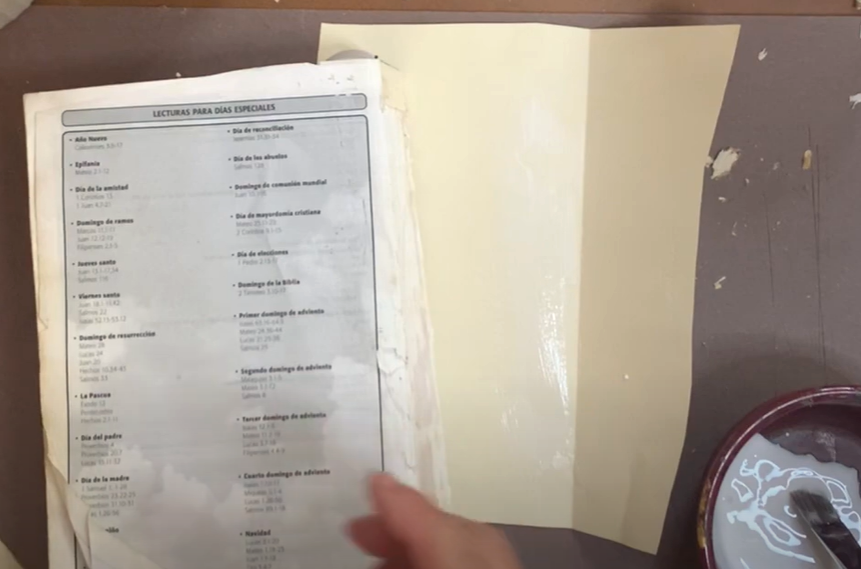
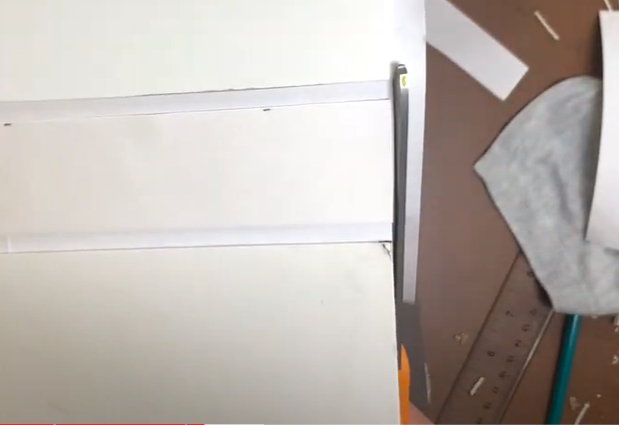
After you finish preparing the text block in the previous step, you must let everything dry at least 30 minutes. Then, you will come in and cut a rectangle piece of paper that is equal to the length of the spine and wide enough to wrap around half the Bible (text block) on each side.
- Add glue to the paper (preferably) but if you put it on the spine, it should be fine too (don’t let it dry)
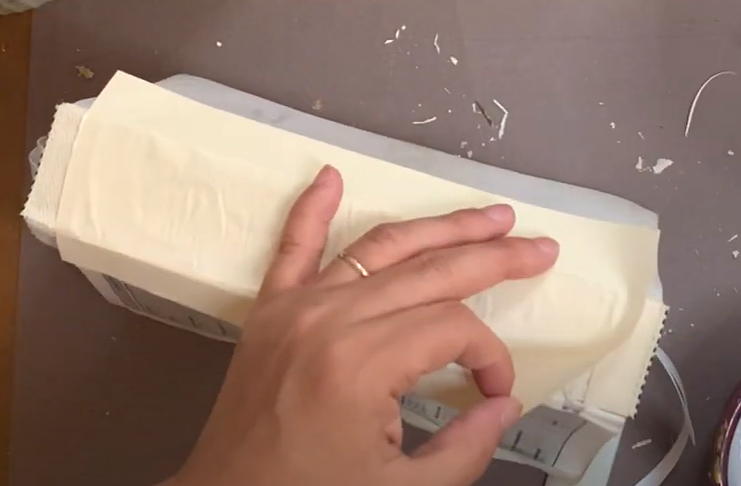
- Cover the spine with the paper (anything thinner than cardstock but thicker than line/notebook paper), Use drawing paper or envelope paper (and even thin yet resistant cloth works)
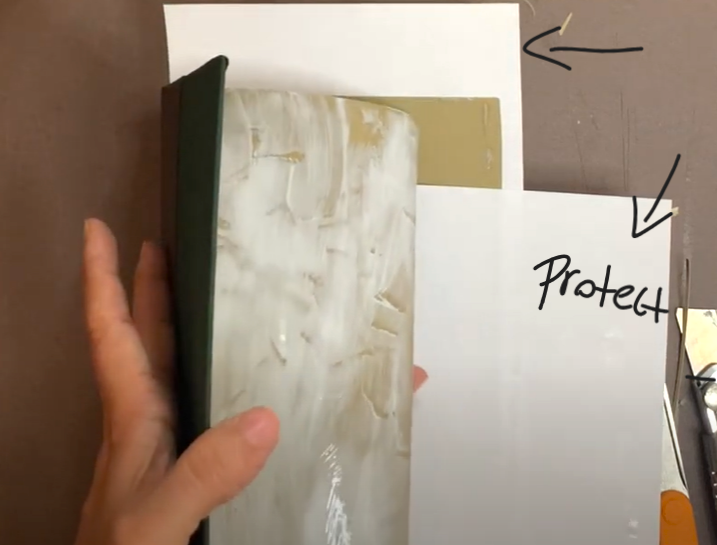
- Press down with a bonefolder or you hand with a cloth or paper to protect what you just glued (moisture and to much pressure) can often rip the paper if you are not careful
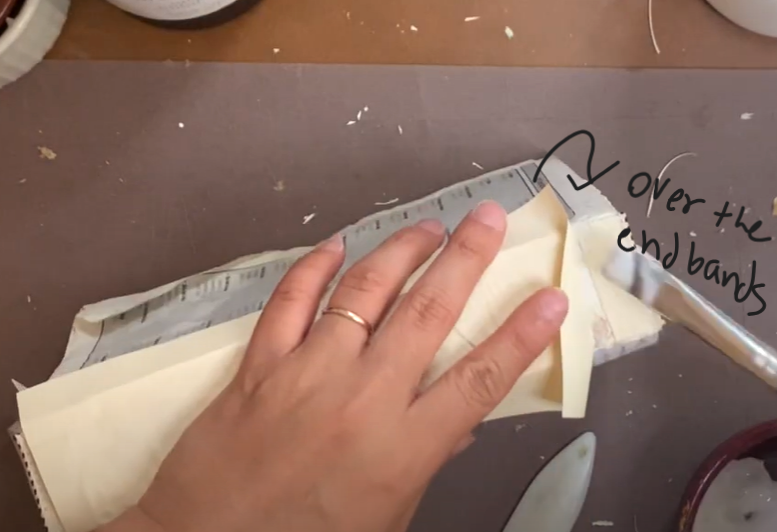
- Cut the paper into two flaps on each side about 1-2 inches in width
- Make sure to cover the end bands with the paper too
- Let it dry (30 min-1hr)
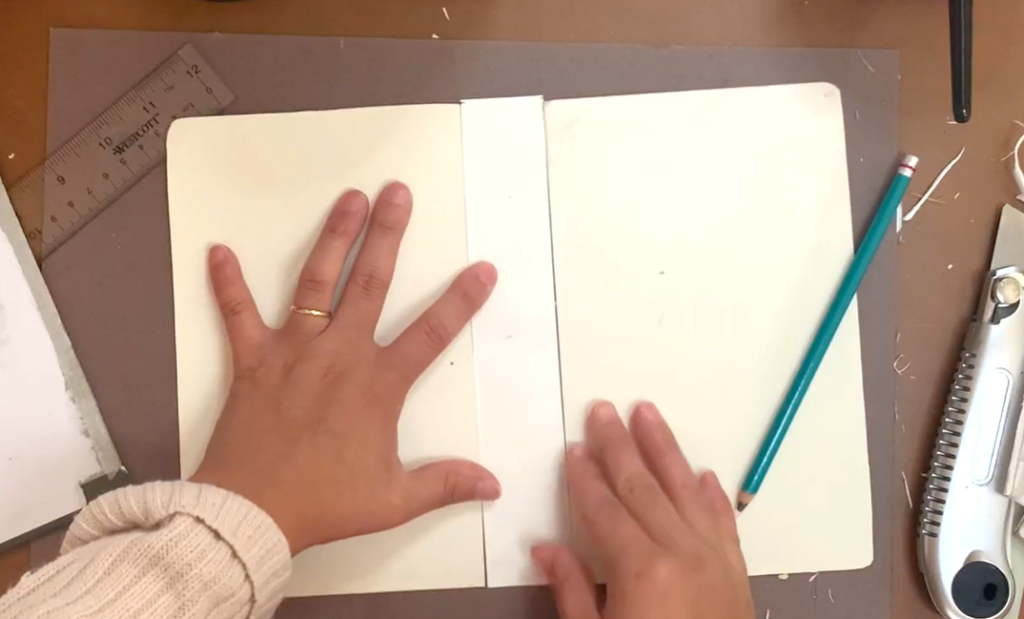
Preparing the New Case
- Get the spine piece and other two boards, that were previously cut in the part 1
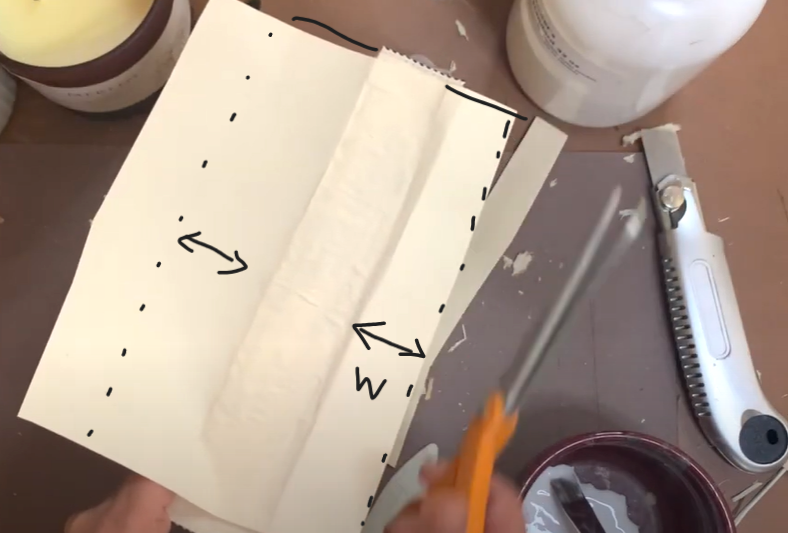
- Cut a rectangle piece of sturdy paper (not cardstock) into the length of the spine with flaps on each side about 2-3 inches preferably
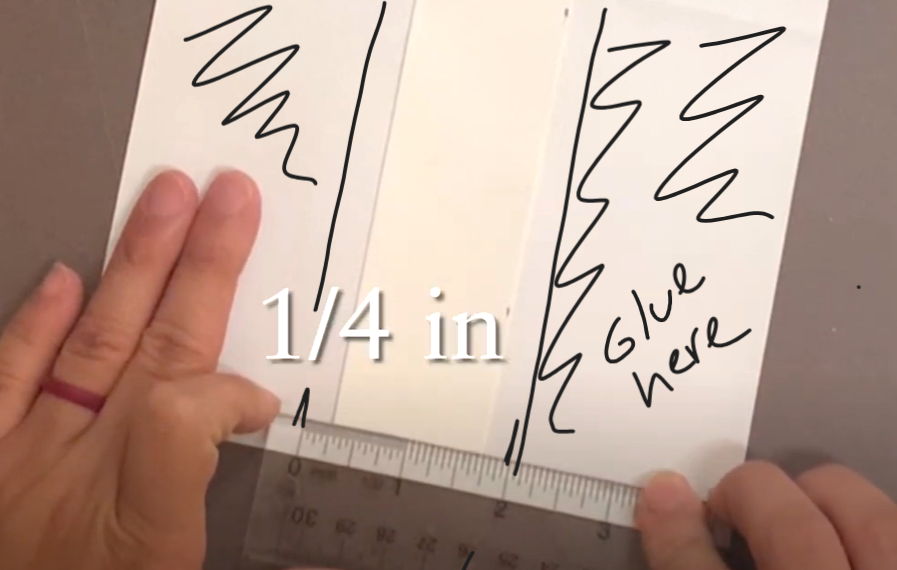
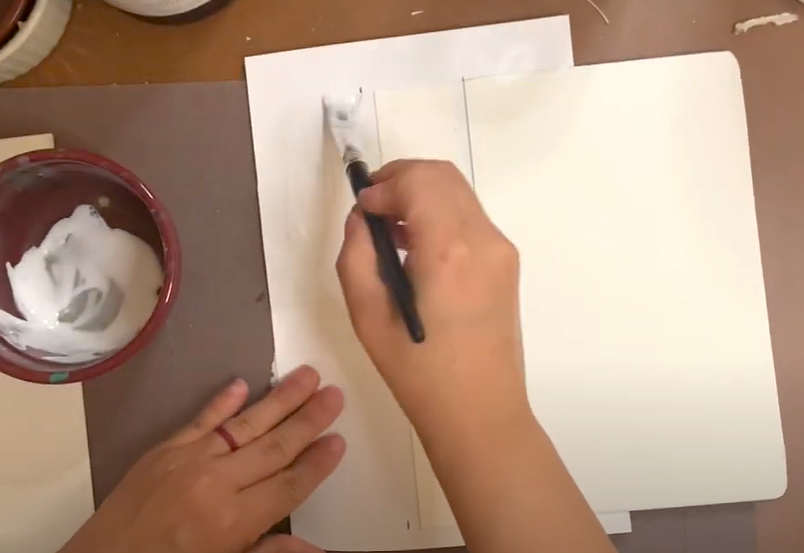
- Glue spine down first
- Leave 1/4 of an inch between the spine and board on each side (don’t add glue in those 1/4in areas)
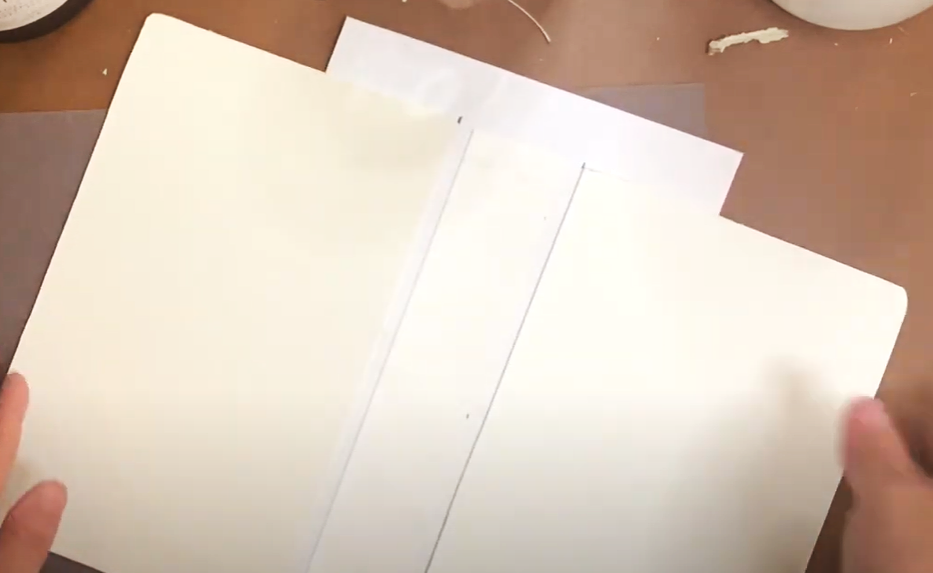
- Glue one board on each side making sure to line them up
- Once everthing is glued, flip entire case and rub with bonefolder or cloth (press down to glue evenly)
- Cut remaining ends off the rectangle piece of paper you glued everything to
- Check for any parts that lift and add glue (you don’t want the board to life)
- Dry for 1-2 hours (place heavy books on top for pressure)
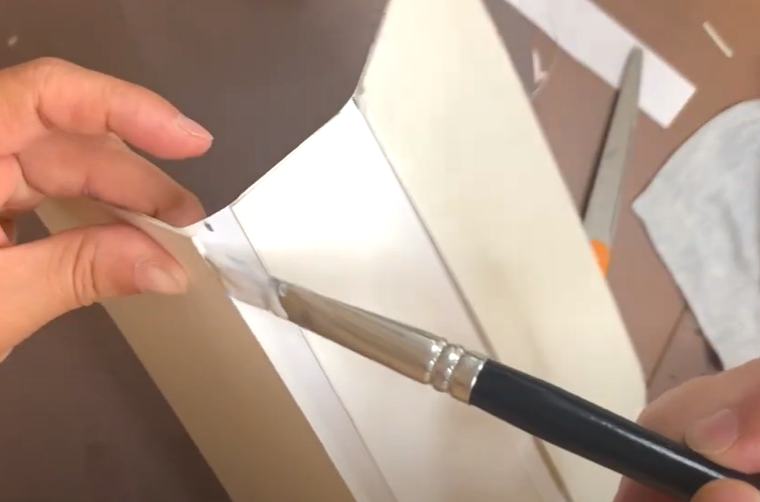
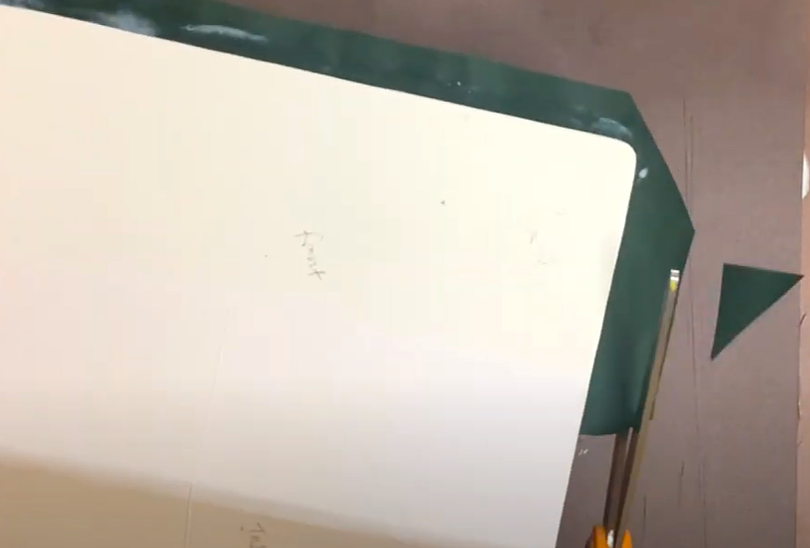
Glue the Cloth Down to the Case
In this part I want to mention that you should not try to use to cloths/colors like I did. Please start with one piece that cover the entire case, as it will be easier.
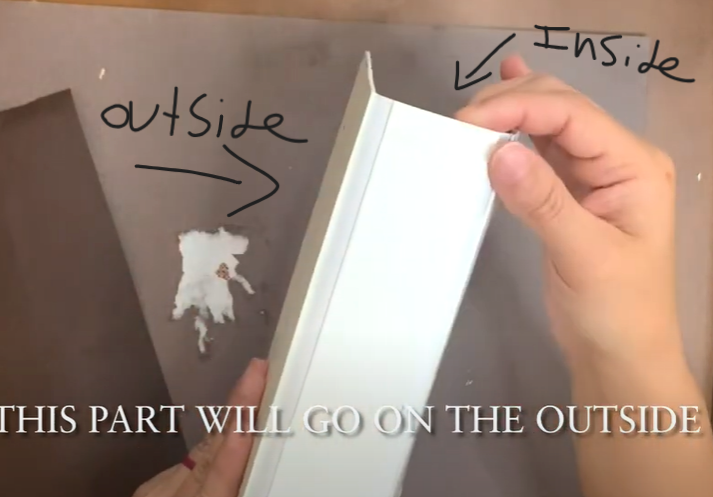
- First cut the cloth or paper you will use to cover the case (leave 1 inch on each side to overlap, just for precaution)
- Make sure to glue the cloth/paper on the outside of the case (the inside has the rectangle paper glued, for reference)
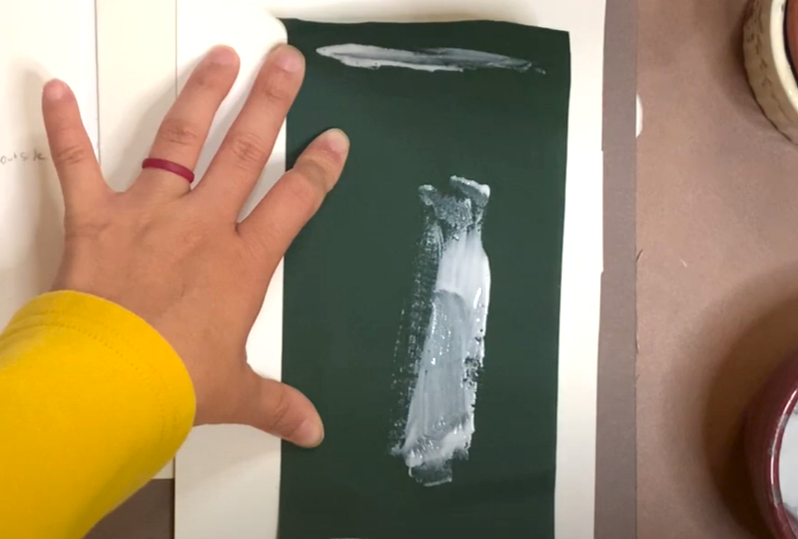
- Please put the glue on the paper or cloth or it won’t work properly
- Make sure there is glue on every area and work quickly don’t let it dry
- Slowly place it on top of the case
- Place piece of rag or paper to put pressure (get air bubbles out) use bone folder or hand
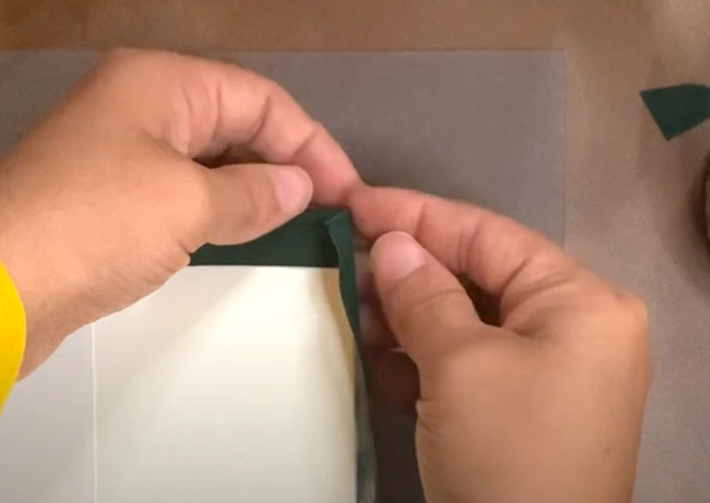
- Cut edges to fold down on corners
- add glue on paper/cloth and fold over
- Once you glue each corner and sides let everything dry (1-2 hours )
- Put heavy books and a paper/cloth under the books to protect the new cover
Part 3: How to Fix a Bible (3 Steps)
- Making sure the text-block fits the new case
- Attaching the End paper to the Text-block
- Attaching the Text-block (Bible) to the Case
The video for this section
Make Sure the Text-block Fits into the New Case
Now, this isn’t really a step for say, and you should check if the Bible fits the case in step 3 of preparing the case part 2.
After working so hard you still want to make sure it fits well, and if you need to flip the case or start over it’s a good place to stop and check or re-examine.
In this step I also suggest glueing in any index pages or pages that might have fallen off.
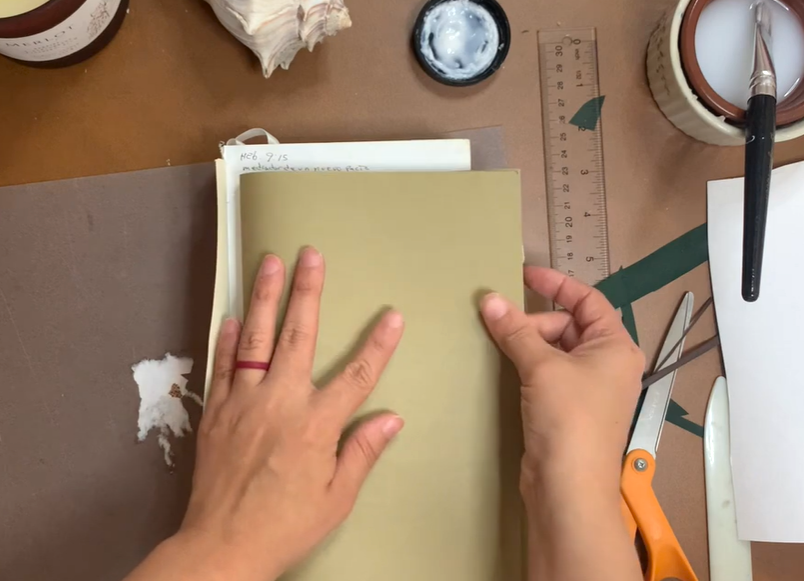
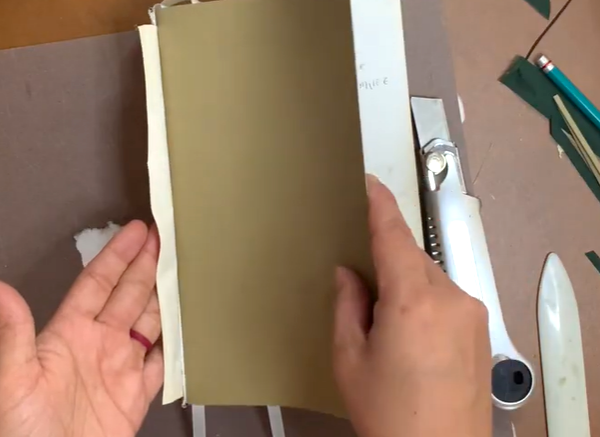
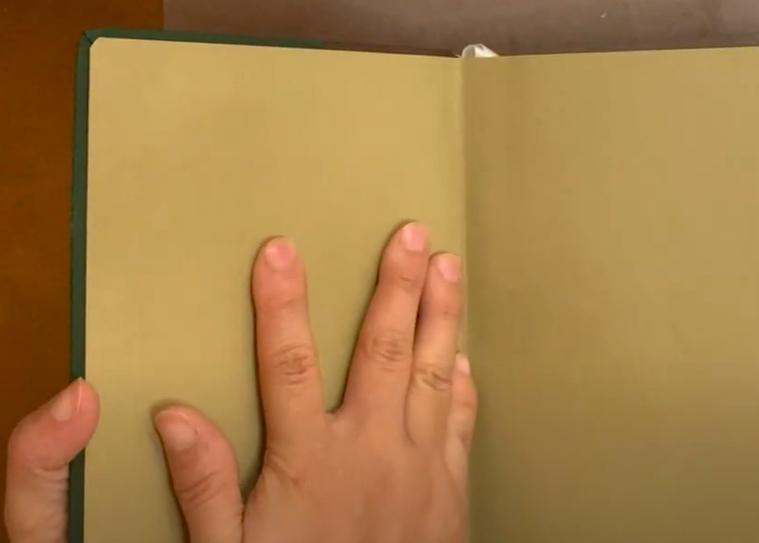
Attaching the End paper to the Text-block
This step is pretty simple. It’s my favorite I would say.
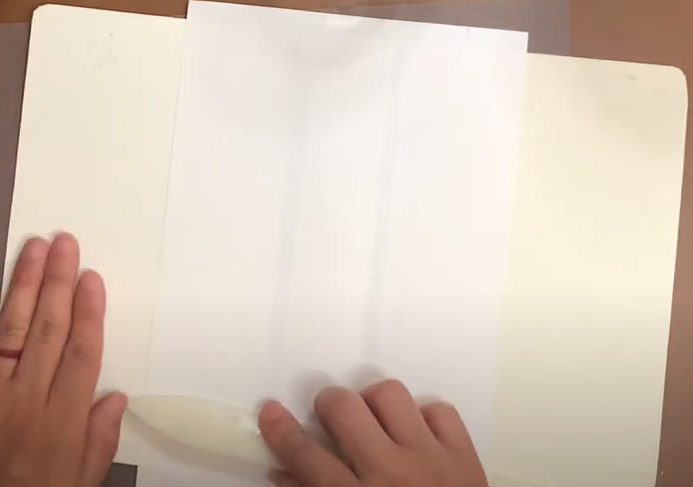
- Start by folding the sheets of end paper you picked
- Fold them to match the bible dimensions (watch the video to see how)
- Cut the excess off the two folded sheets to match the cover size
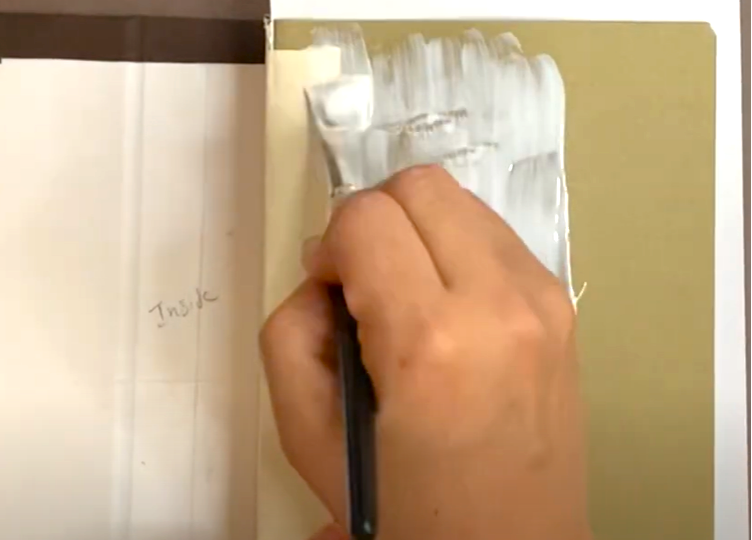
- Add glue to the flap we left on the spine covering (one side at a time)
- Insert the folded and cut sheet of end paper
- Fold the flap down and press it down with a bonefolder or your hand
- And repeat the last three steps on the back part of the bible as well
- Round out the two edges so the corners aren’t sharp
- Let it dry for at least 30 mins
Attaching the Text-block (Bible) to the Case
This the last step and you are done!
Before attaching the text-block to the case of your brand-new Bible please note this. Please make sure the Bible in right side up and that the front is actually the beginning of the Bible.
You don’t want to glue everything together and realize. Oh, my Bible is backwards or upside down!
I won’t say it has happened to me 😀
- Begin by check that the Bible is not backward or upside down before we glue it into the case
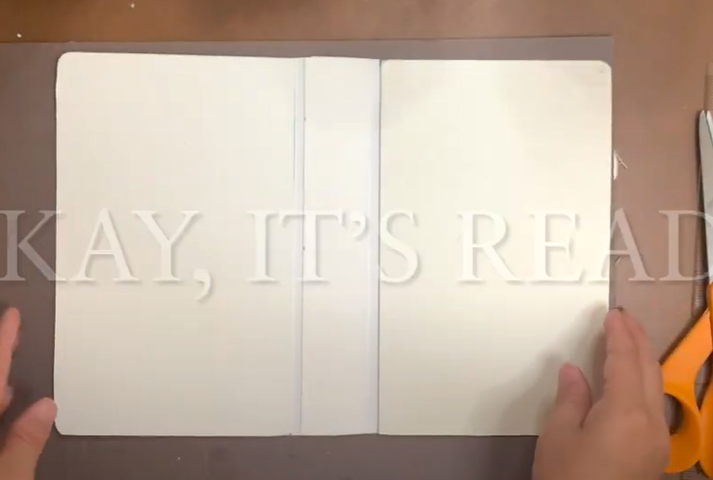
- Line up the spine to the center of the case
- Check that the end paper aligns
- Cut excess paper off the end paper if it’s a bit long
- You should see the cloth, about 1/4 of an inch on the front and back (third picture)
Repeat these following steps on both sides and you will successfully attach your text-block to the case!
- Add glue to the side you wish to start with (cover the end paper well and don’t let the glue dry)
- Fold the cover flap down to the glue (add paper to protect you end paper from glue)
- Use a bone folder or your hand to smooth out and get rid of air bubbles
- Place a protection layer where you just finished pressing down
- Repeat same steps on the other side
You are done!
- Place heavy books and let dry for 1-hour minimum

You’re a Bookbinding Novice!
It feels so good to fix a book/Bible for the first time! It’s like a whole new world of possibilities. I never knew anything about bookbinding when I started, and it has become an enjoyable hobby for me.
I hope this hardcover How to Fix a Bible (quick guide) was helpful? Don’t forget to sign up for the newsletter to not miss any posts like these.
See you in the next bookbinding adventure!
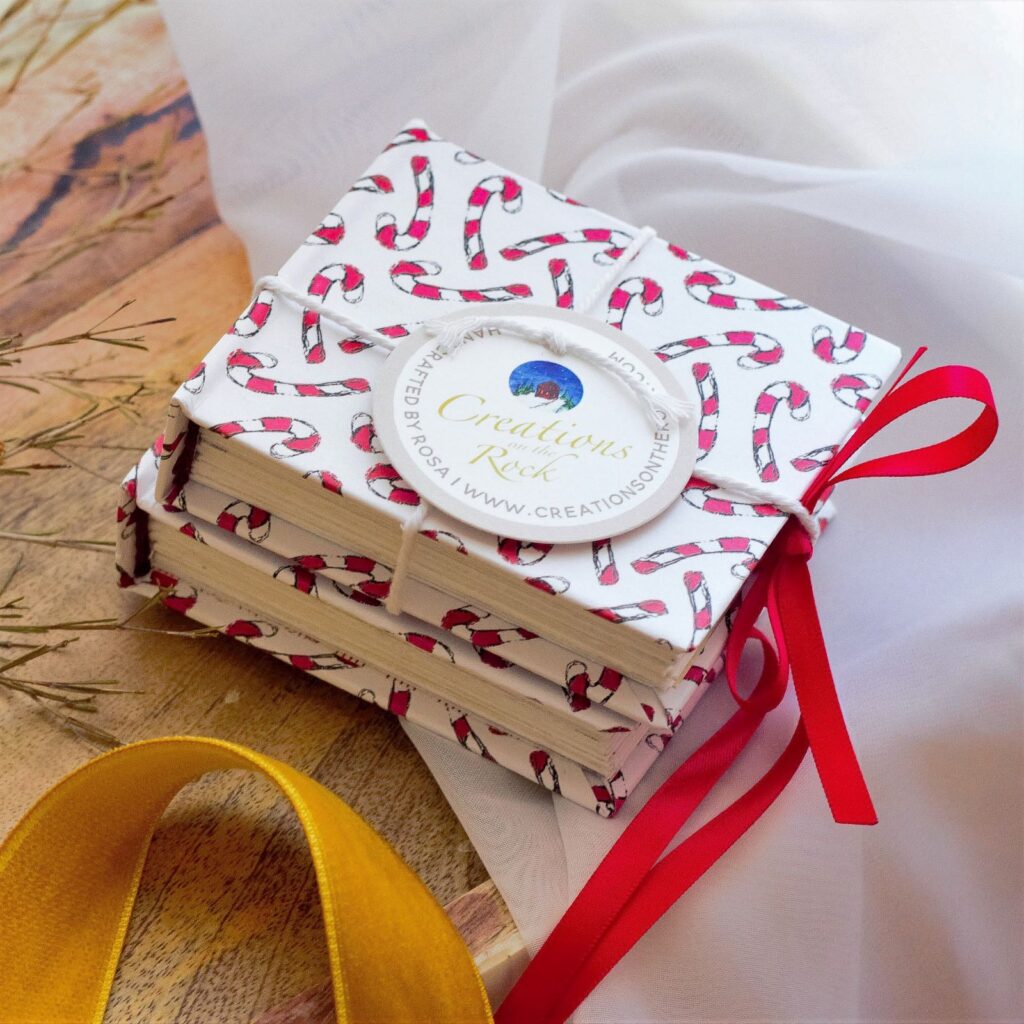
Check out other bookbinsing creations on my ETSY

Leave a Reply